


For decades, lab technicians have relied on test sieves and test sieve analysis to ensure their products meet a certain level of quality that customers expect. Achieving results that are accurate and repeatable starts with the test sieve manufacturer properly assembling your sieves.
That said, how is a test sieve made?
W.S.Tyler created one of the first test sieve standards over 100 years ago and, over the years, our team of experts has developed the know-how needed to ensure you implement the right test sieve configuration for your particle size analysis process.
In this article, we will analyze the different components that are used to create a test sieve, break down the differences between brass and stainless steel sieves, provide an in-depth look at the test sieve assembly process, and provide insight into how test sieves are shipped safely.
What Components Make up a Test Sieve?
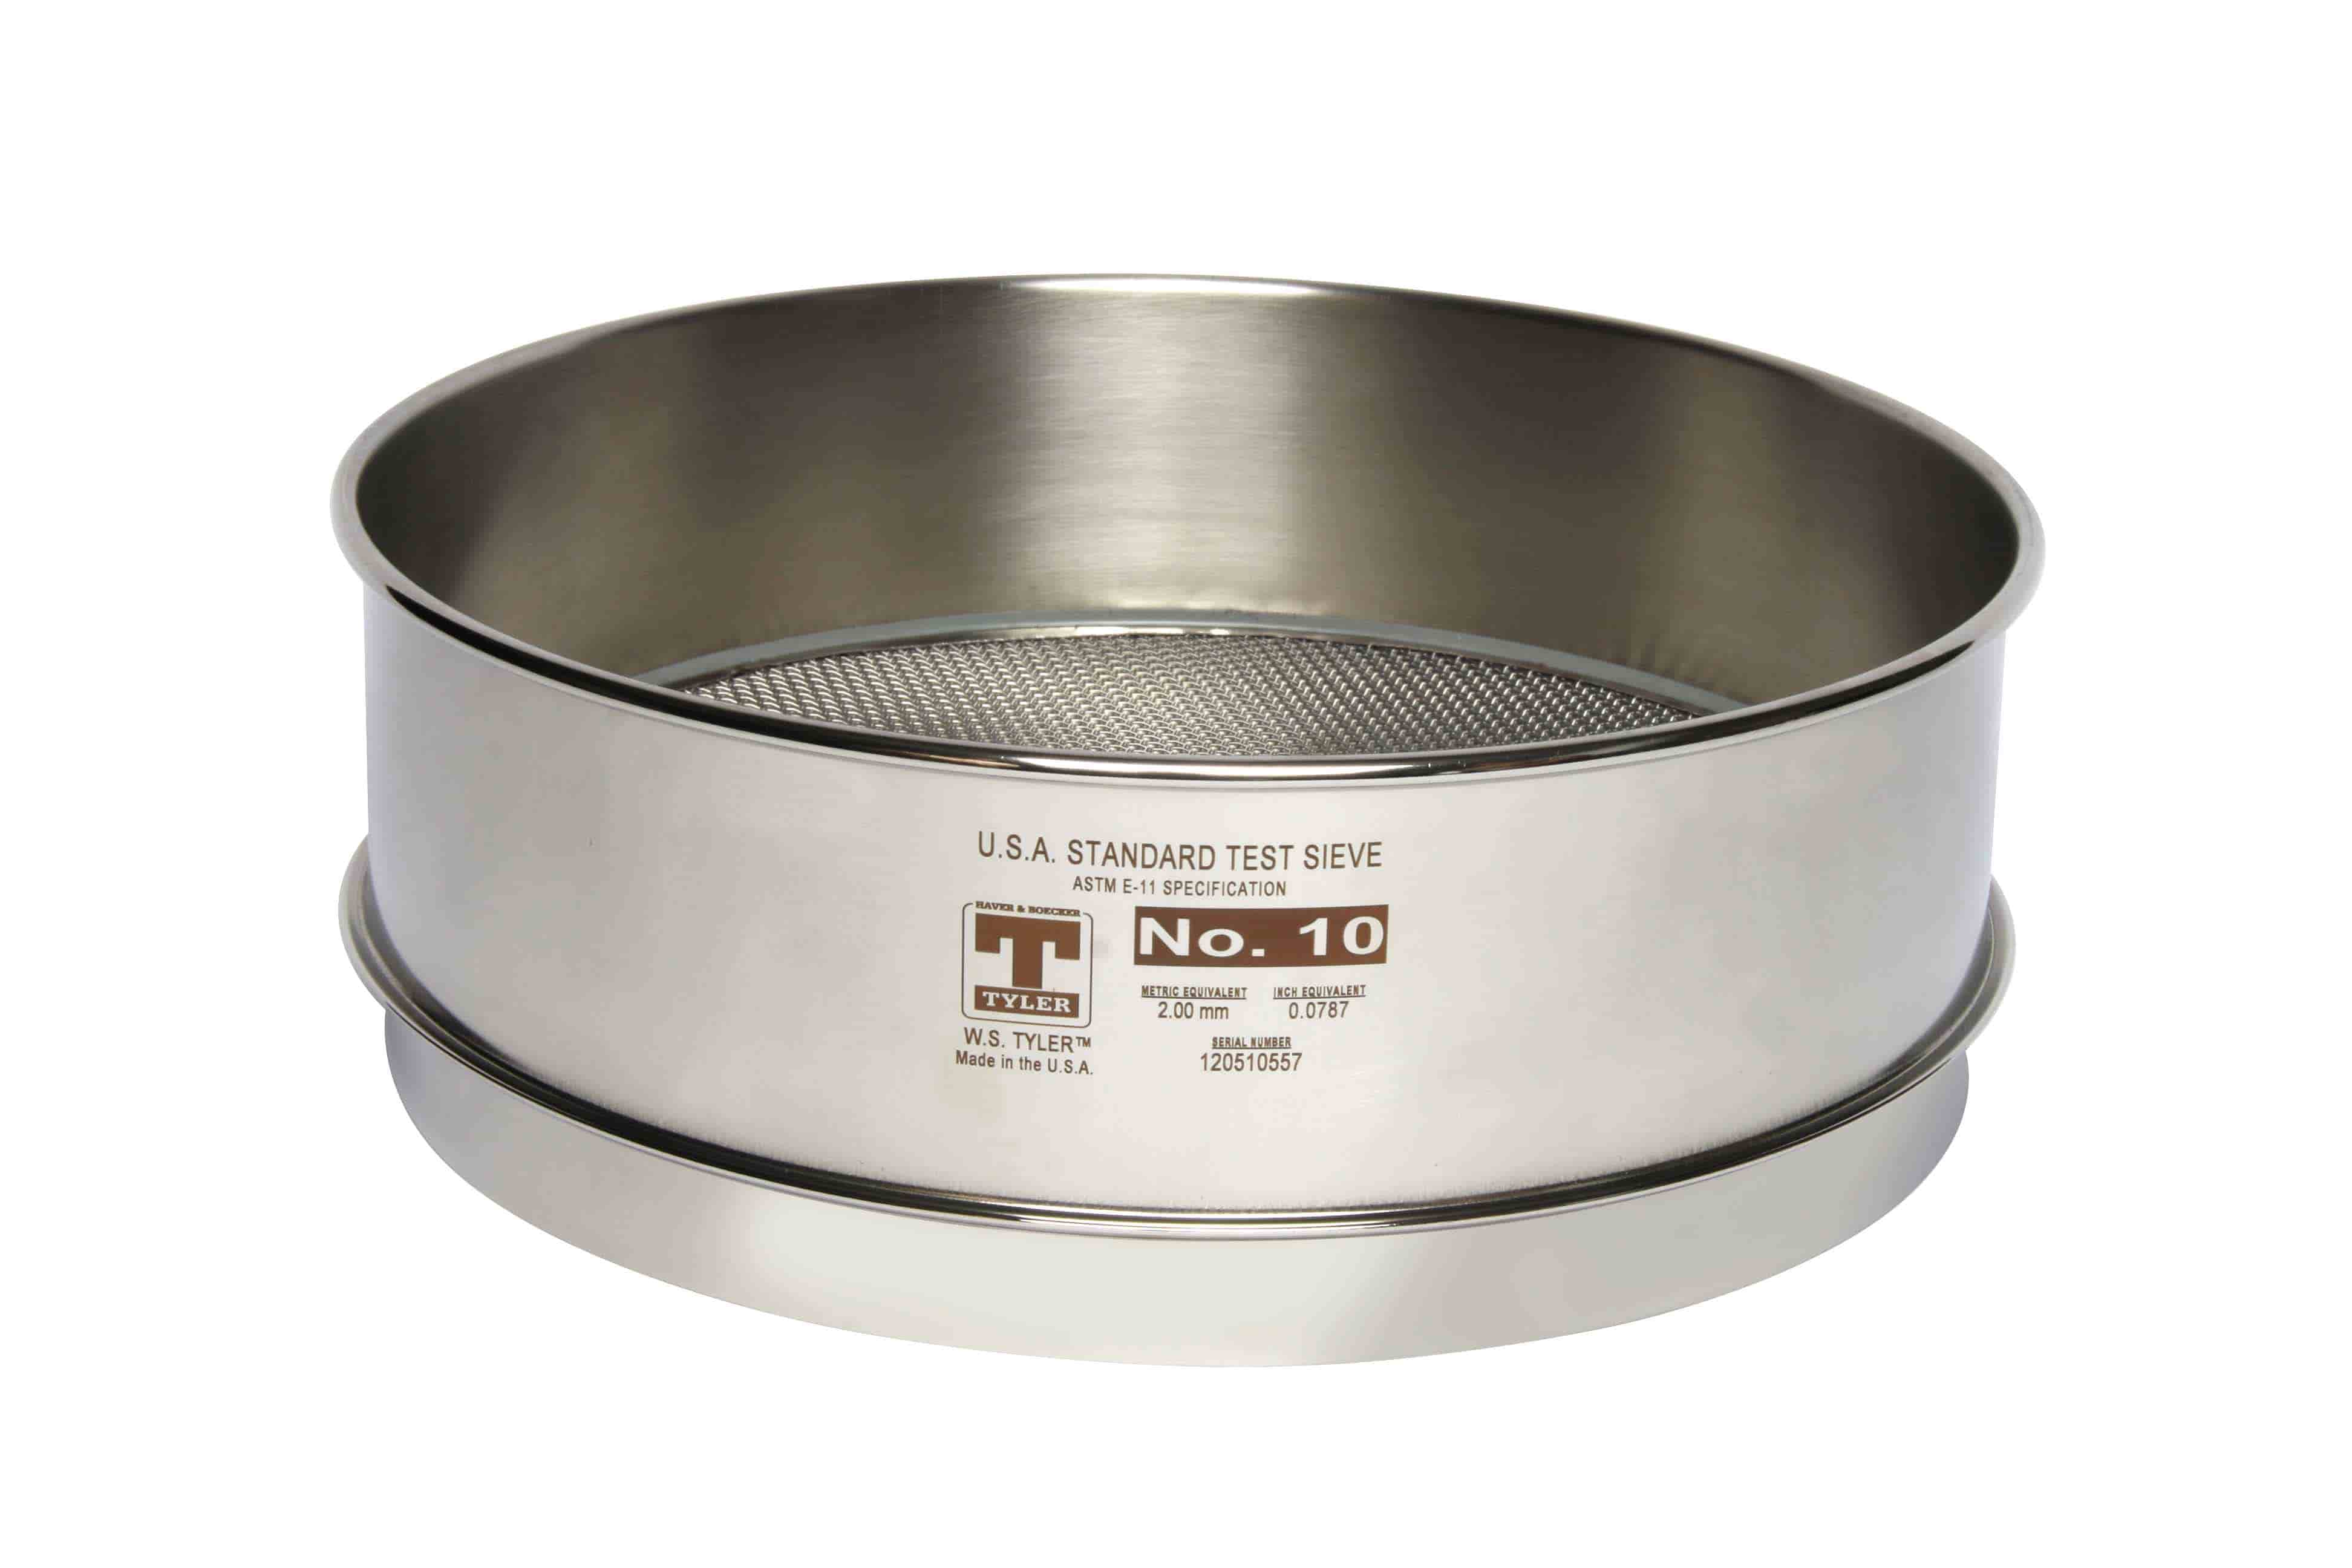
Test sieves consist of three main components: a frame, a skirt, and the screening media.
The frame is used to provide space between test sieves when stacked, allowing the material being tested to move freely. Typically, test sieves come in a standard size of 3 inches, 8 inches, or 12 inches in the U.S. and 100 millimeters, 200 millimeters, or 300 millimeters internationally.
The skirt provides support to stacked test sieves, preventing the stack from toppling over when conducting a test sieve analysis.
The screening medium, such as woven wire mesh, is the most critical part of any test sieve. It is used to separate the larger particles from the smaller ones, giving you an accurate reading of the material being worked with. Generally, stainless steel wires are used to construct the mesh and have a mesh opening size range of 4” (100mm) to 635 mesh (20um).
It should be noted that test sieve cloth is woven slightly different than other woven wire mesh. When weaving test sieve mesh, the loom is monitored far more strictly in efforts to make sure the mesh openings are precise and fall within the tolerances set by ASTM or ISO.
Once removed from the loom, the mesh must be visually and physically inspected for any sort of flaws or imperfections before being classified as test sieve cloth.
How Do Brass Test Sieves and Stainless Steel Test Sieves Differ?

Generally, there are two alloys that are used to construct the different components of a test sieve: brass and stainless steel.
Brass mesh, in particular, was introduced several decades ago as it was significantly less expensive than stainless steel. It is also softer than stainless steel, which makes it easier to work when constructing a test sieve.
However, in today’s market stainless steel is much more widely used than brass. As it is three times as strong as brass, stainless steel can be used to test abrasive materials and harsh conditions.
What Does the Assembly of a Test Sieve Look Like?
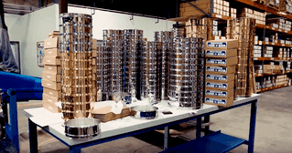
Most components used to construct our test sieves are produced in-house so the process can be controlled all the way through. As a result, we can typically have your test sieve order shipped within five business days if the raw material is available.
With that, all the components are pre-made and stored so that when your order comes in, all the components needed to construct your desired specification can just be pulled from the shelves.
- To form a frame, a coil of stainless steel is placed into a stamping machine to punch out blanks that correlate with the diameter size of the sieve.
- The blanks are then drawn, creating the cylindrical shape of the frame. NOTE: To eliminate sharp edges, the lip of the frame is curled over.
- The skirt is then stamped from raw material, similar to the frame.
- The test sieve mesh is then tensioned so that it is drum-tight while also being soldered to the top edge of the skirt.
- Once this is complete, the frame is placed on top of the skirt and locked into place.
- A bead of epoxy is then applied around the inside seam where the mesh meets the frame. This is done to prevent particles from wedging in the seam and skewing your particle distribution results.
- The assembled sieve is then placed into an oven to cure
- Once cured, it receives a final buffing.
- The test sieve then undertakes an inspection to verify the final product, making sure there are no flaws that may have occurred during production.
- Using a laser etching, the test sieve's serial number is permanently engraved into the outside of the frame. This vital as the serial number provides insight into the year the sieve was made, the week of the year it was marked, as well as what machine marked it.
NOTE: Test sieves are not sterilized before being shipped. While you can use them to run heavily regulated material, such as food and pharmaceuticals, the sample should not be placed back into the production line.
How Are Test Sieves Shipped?
As test sieve analysis requires precise equipment, any dents or imperfections that are the result of rough shipping conditions are a natural concern. In order to prevent occurrences, extra steps are taken to ensure your sieves arrive in pristine condition.
Prior to being placed in the main box that will be handed over to the shipper, each test sieve is placed into its own individual box. In these individual boxes, the sieve’s certificate of compliance, as well as the test sieve itself, are placed inside a plastic bag to further protect them from harmful elements, such as moisture, that may occur during shipment.
As an extra layer of protection, packing paper is used as a filler to prevent movement inside the box and serve as a
shock-absorbing medium if the box were to fall or be mistreated during shipment.
Create the Ultimate Test Sieve Analysis Setup
Test sieve analysis is one of the most reliable forms of quality control. When it comes to yielding accurate results that are also repeatable, it is vital that lab technicians implement reliable test sieves that were properly assembled.
Assembling the ideal test sieve requires high-quality material to form the frame, skirt, and screening medium. Depending on your industry standards, these parts can be constructed of either brass or stainless steel.
In order to guarantee customer satisfaction, extra steps need to be taken to ensure your sieves are not damaged or compromised in any way during transit.
Having been pioneers of test sieve analysis for over 100 years, W.S. Tyler and our team of experts have the experience needed to help you perfect your test sieve analysis process.
For more information regarding test sieves and test sieve analysis, refer to our Test Sieves, Sieve Shakers & Particle Analysis Equipment Product Guide.
Want all the latest industry trends and innovations sent directly to your inbox? Subscribe to our monthly newsletters today.