How Long Do I Run My Sieve Shaker For? (End of Sieving Analysis)
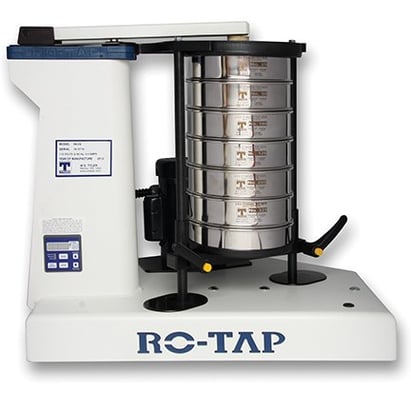
"How long should I run my sieves in my RO-TAP® Sieve Shaker?"
We get asked this question a lot, and it's a valid one! Particle Size Analysis can be complex and technical if you aren’t familiar with it.

To answer the question simply, it depends. That may not be what you wanted to hear, but don’t panic, we are still going to help you figure out what is right for you and your process.
The problem with this question is that the answer can be completely different depending on so many factors. Sieves and sieve shakers are used in industries all over the world from sand and gravel to flour and salt.
So, as you can imagine, it is hard to write one general answer to the question, How long do I run my sieve analysis for, because it really does depend.
Some people run their tests for a few minutes, others run them for half an hour or more. The amount of time it takes for a sieve analysis to be completed depends on several factors.
In this article, we are going to talk about those factors that can impact how long you need to run your sieve analysis and also how to perform an end of sieve analysis to determine how long you should run your analysis for.
Factors for Determining the Duration of a Sieve Shaker Test?
1. How Big is Your Sample Size?
The most obvious one may be the overall size of the sample being run.
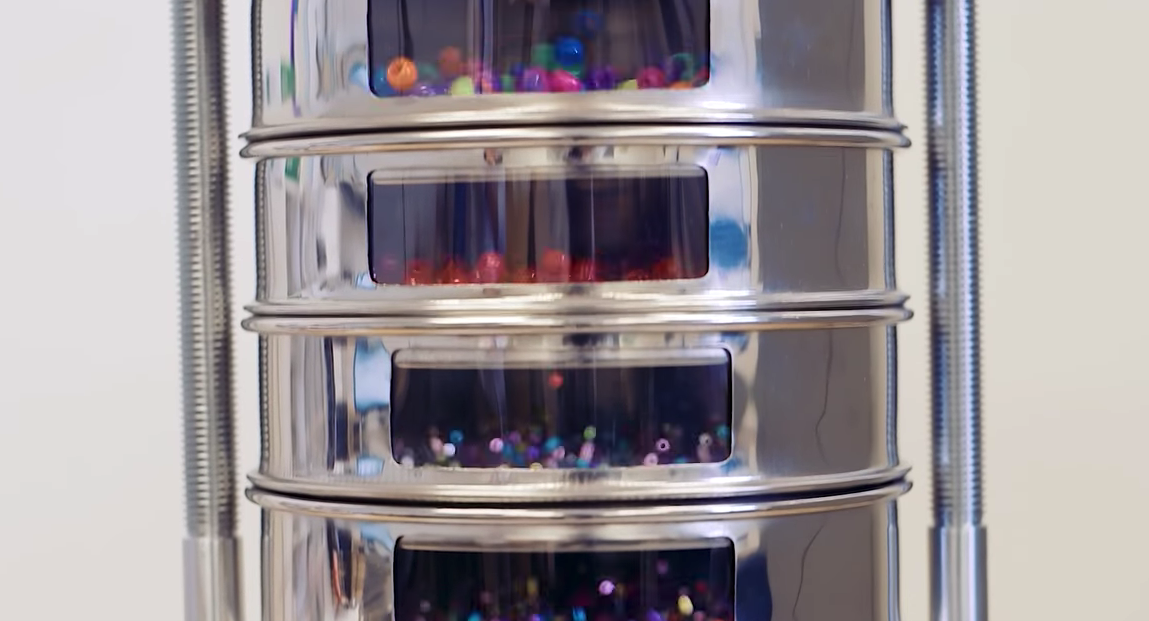
The more material that is put into a sieve at once, the longer it will take in the RoTap for all of the particles in the sample to find an opening in the sieve mesh and have an opportunity to fall through it.
If you overload a sieve with a large sample of particles, you may have issues sieving that sample and either get bad results or have trouble getting the particles to pass through at all.
2. What Shape are Your Particles?

You can use all types of particles through a sieve shaker but the shape of each individual particle is going to impact how your analysis goes.
Round or nearly round particles will take much less movement, and time, to fall through than an elongated or irregularly shaped particle.
For elongated or irregularly shaped particles there are sometimes other actions you need to take to get them to sieve correctly. If the particles aren’t oriented correctly, they may not fit through the openings in the mesh properly.
3. What is your Particle Size Distribution?
The third factor that can dictate how the performance of your sieve analysis goes, is the particle size distribution of the sample.
If a sample has a lot of particles that are close to the same size as the openings in the sieve mesh, these particles may tend to stay in the openings or clog them. This will make the rest of the particles not fall through the openings, effectively reducing the sorting capacity of the sieve.
How Do I Calculate the Right Amount of Time to Run my Sieve Analysis?

So, how does one come up with the correct amount of time to run a sieve analysis?
The best way to do this is to run an end of sieving analysis. Performing this analysis will show what the minimum amount of time required is to yield consistent results.
Here is how to perform an end of sieve analysis:
- Start with the actual sieves and a typical sample of the material that will be tested.
- Select an initial test time, usually 3-5 minutes, and run a sieve analysis.
- Record the amount of sample retained (or passed, if that is the result typically recorded) on each sieve.
- Using the same sieves and sample, run the test again incrementally longer, usually adding 1-5 minutes to the initial test time.
- Again, record the results of the sieve analysis.
- Repeat this process adding incrementally more time to the RoTap timer until the results of the sieve analysis stop changing by more than 0.5%-1%.
- This is the end of sieving, running the test any longer will not significantly affect the results of the analysis.
Analyzing Your Results
Two scenarios can occur after you have run your sieve analysis.
The first is if your individual tests do not level out (stop changing by less than 1% from test to test), even after a significant number of iteration. If this is happening to you, it is likely that either the material is not suitable for sieve analysis and/or the sample is breaking down during the test cycle in the RO-TAP.
The second scenario is that your sample is breaking down, there are two solutions available:
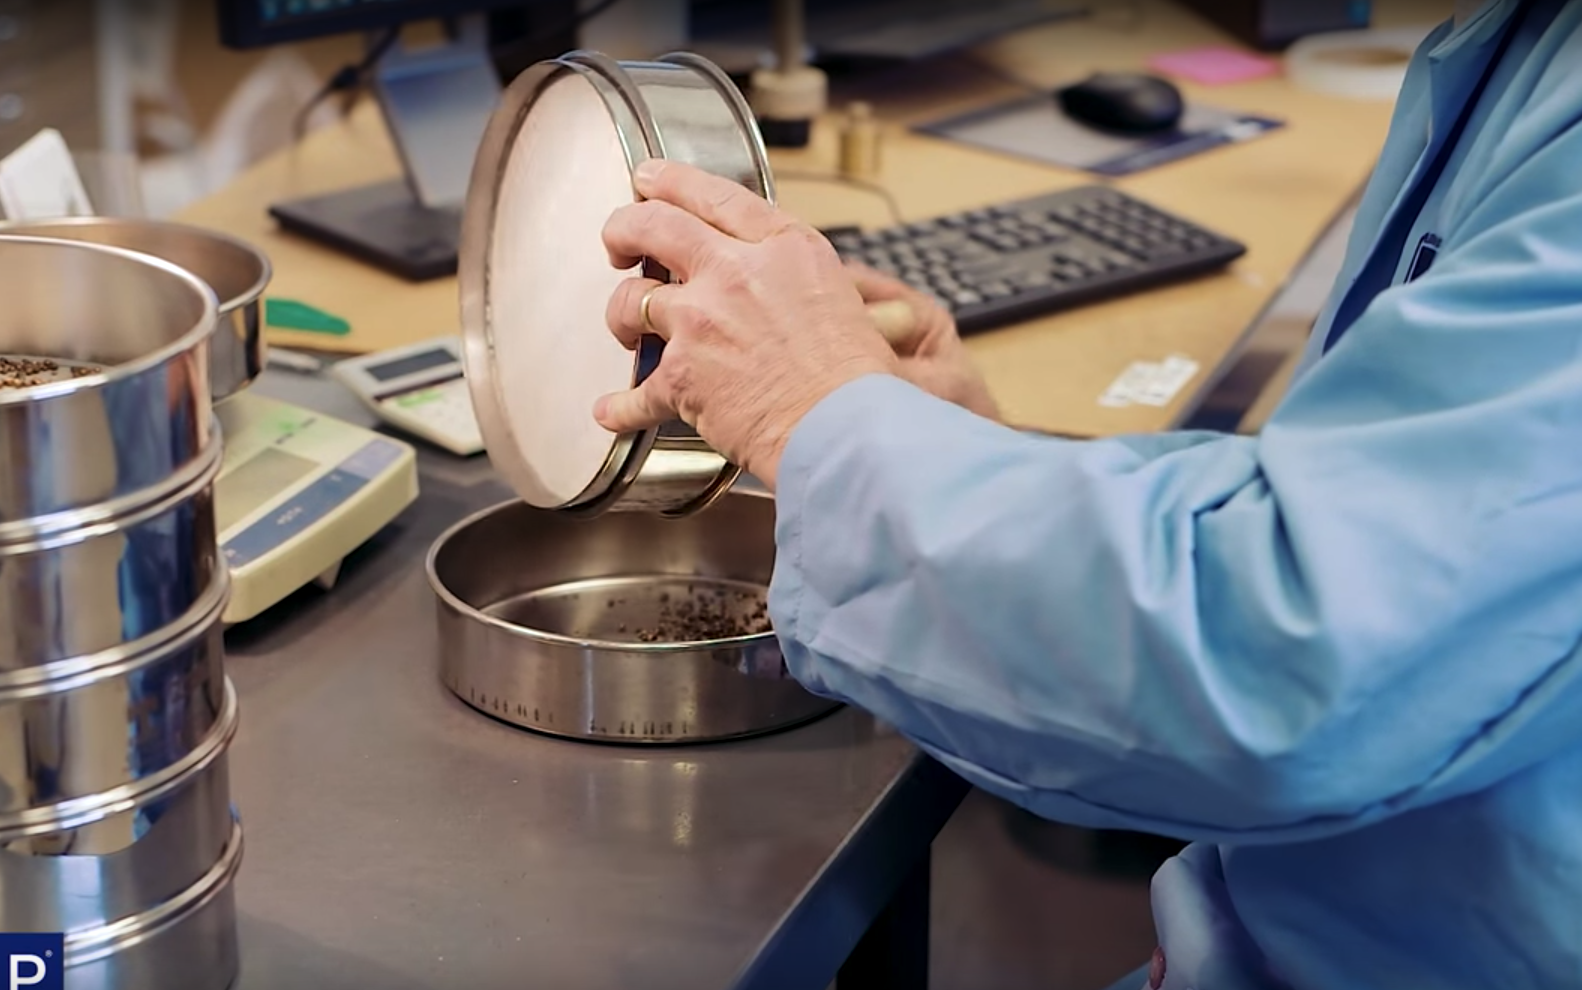
The first option is to perform a hand sieving analysis which can be physically difficult for the person performing it and yields notoriously inconsistent results.
The second, and we believe the best option is to perform the analysis optically using a machine such as W.S. Tyler’s Computerized Particle Analyzer (CPA).
This machine simply allows the particles to fall in front of a camera to measure the size of each particle. You can learn all about the Computer Particle Analyzer in our article: What is A Computerized Particle Analyzer(CPA)?
By following the procedures described above, you can determine the fastest test time that will get you consistent, repeatable results, which will create the most efficient sieve testing procedure possible.
To Sum It All Up
We hope that after reading this article, you have a better understanding of how long you should be running your sieve analysis for and all the factors that could alter that time.
If you have any specific questions about your own processes, particles, or you need any other answers to sieve analysis, feel free to let us know.
If you have gotten to this point and are now looking for information about the Ro-Tap Sieve shaker machine you can read all the info in our article: What is a Ro-Tap Sieve Shaker.
About Bill Conway
With a background in engineering, Bill Conway currently serves as the Safety Manager of W.S. Tyler and has been with the company for over 25 years. Directly involved with the production and certification of test sieves, Bill oversees operations in the W.S. Tyler plant in Mentor, OH as well as three sister company plants across the United States.


