How To Get a Representative Sample for Particle Size Analysis
No matter what industry you are in, quality control is everything. If you work with particles, your quality control depends on your particle analysis testing.
What a lot of people don’t know is that how you prepare for particle testing is just as important as the test itself.
Regardless of whether you use a sieve shaker or a digital particle analyzer, getting an accurate sample is one of the first and most important steps to your particle analysis process.
Any test that is performed on the sample, regardless of how careful or intricate it is, is worthless if the sample is not a true representation of your entire batch of material.
In this article, we will be diving into the ins and outs of getting a representative sample from your material.
Industry Standards and Representative samples
Your Industry standards are going to dictate the size of your sample, both mass, and quantity.
With that being said, the first step to any particle analysis process is to understand how much material you need to sample, based on those standards. If you are looking for more information on industry standards you can check out our article: Your Guide to Particle Analysis Standards.
What is a Representative Sample?
A representative sample is a subset of a larger group that accurately represents the characteristics of that entire group. With any accurate particle size analysis test, gathering representative sample is the first step.
We have a video that shows how particles will naturally separate when dumped or released onto any surface.
Why Is Obtaining a Representative Sample Important?
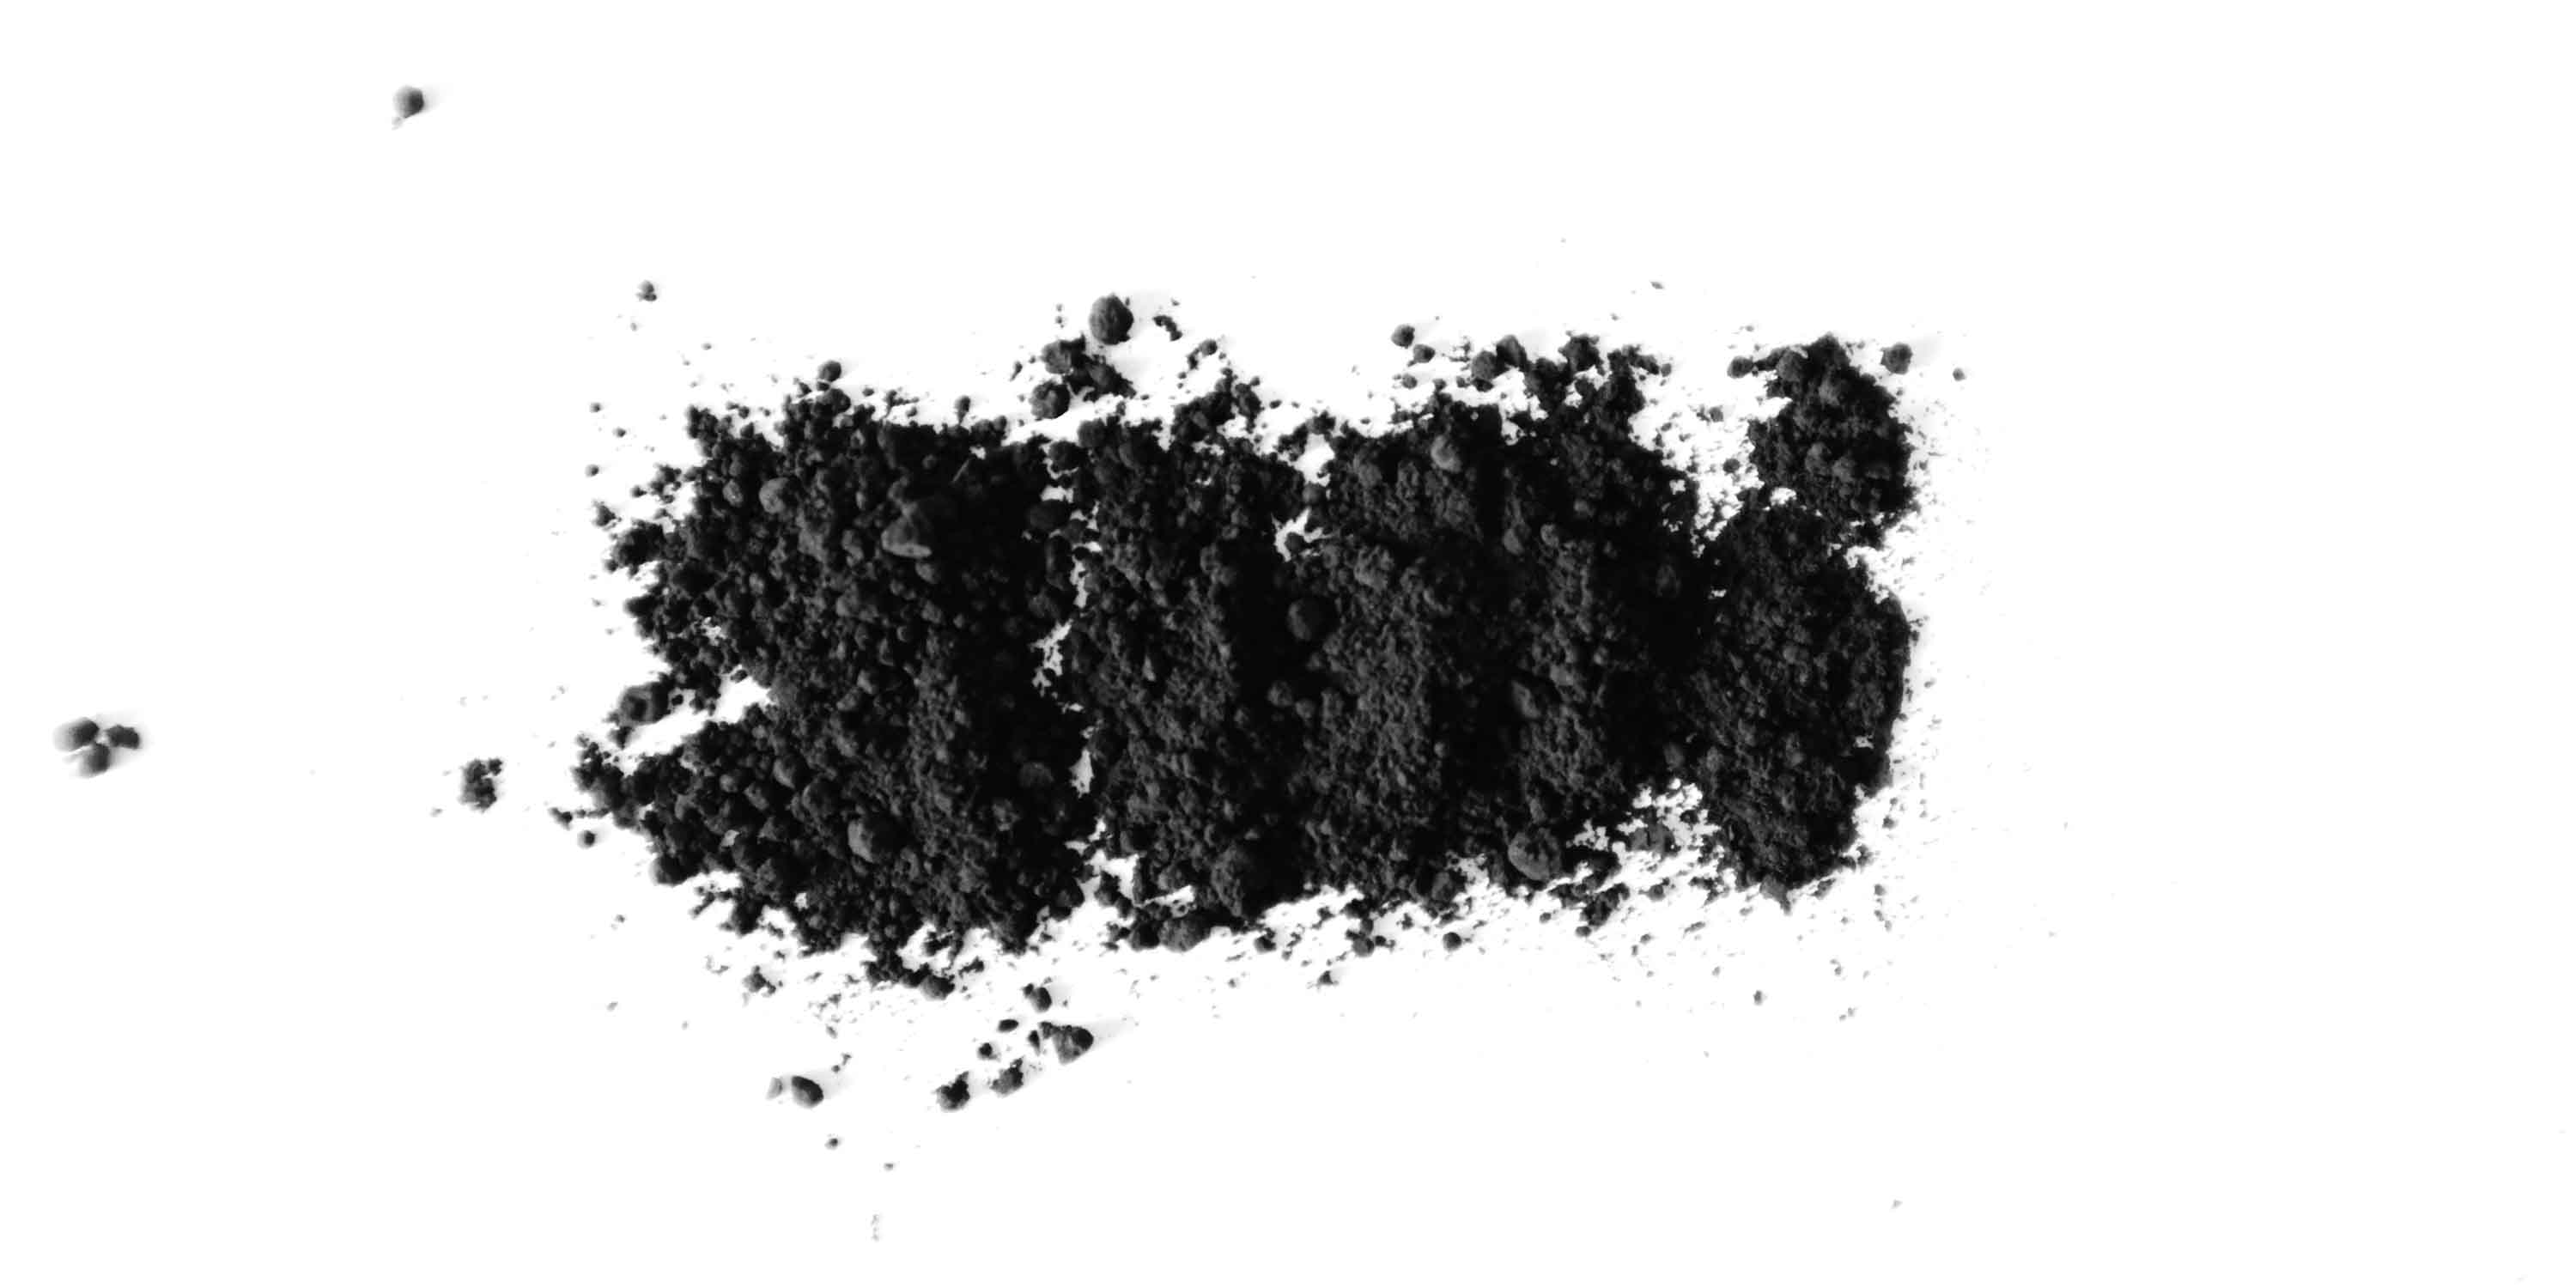
If you were to take a large sample of your test material and pour it out, the coarser material will be on the outside and the finer material will fall through in the middle
If you would take your sample out of this pile you are going to get mostly coarse particles and it will not be an accurate representation of the entire sample.
So, you can't rely on that sample to tell you about your entire load of material.
This is why it is so important for you to test an accurate representation of your entire particle load to be sure you are getting accurate results every time. To learn how to prevent your sample from becoming contaminated, refer to our article: How to Avoid Particulate Contamination in Particle Size Testing.
How Do I Find My Representative Sample?
The answer to this question is not an easy one. The honest answer is that to get an actual representative sample you would need to test all of your material. Yes, every single particle would need to be tested to get a 100% representative sample
In almost any case, testing every single particle in your sample is not going to be a feasible option. Instead, you should make every effort to have the most accurate representative sample possible.
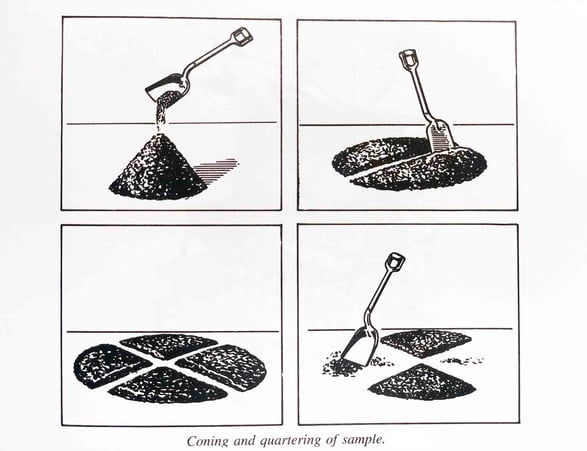
When you are working with a large sample size, the best way to start accurately breaking down that sample is to use the coning and quartering method.
How to Break Down a Sample with Coning and Quartering:
- Pour your material onto a clean flat surface. Once you do this it will naturally result in a “cone” shape.
- Using a large shovel or another suitable tool, turn the entire sample over at least 3 times and form the entire sample into a conical pile
- Flatten the material to have a circle uniform in thickness. (Typically done with a shovel.)
- Cut the pile into 4 identical quarters
- Remove two opposite corners

Sampling directly from trucks or rail cars is not recommended. There are too many factors that can impact the gradation of the material like segregation or particle breakdown during the loading, transporting, and unloading.
We recommend testing the sample once it has been delivered.
Material Splitter
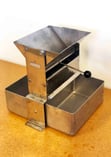
Once you have gathered your representative sample, you may find that it is not broken down enough to run through a RO-TAP® Sieve Shaker or a Computerized Particle Analyzer. At this point, you need a way to accurately break down that sample into smaller samples, while maintaining the accuracy. The best way to do this is by using a material splitter.
A material splitter will divide your particles into two identical size samples. This is usually done when your sample is too large to be run through a sieve shaker or a CPA.
Using the sample splitter is a very easy and quick process. Pour your material into the top of the splitter. Be sure you are pouring the material from the right side to the left side as evenly as possible.
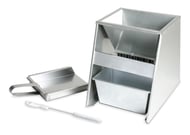
There are two different types of splitters.
 In the splitter pictured, the material will hold in the feeder while you pour in your sample. Once all material is in the feeder, you will then pull the lever which will release the material and evenly split the material into two separate pans.
You can then resample each side until you reach the desired sample size.
In the second type of splitter, the material will split as your pour. Once you have split your entire sample, discard one of the two samples.

Repeat this process with the new sample until you have the final sample size that you need for your particle analysis machine.
This is a simple but extremely important process you should perform before you begin each particle analysis process. This will provide results that are much more consistent and give you more confidence in your analysis of your material.
To Sum It All Up
The world of particle size analysis is all about precision. Every industry has its own standards and regulations to follow in terms of how often to run a sample and how much material needs to be sampled
The important thing to remember for all industries is that to get accurate results, you need to be using a representative sample.
We hope this article helped you understand how you can get as accurate of a sample as possible for your standards and quality control.
If you have any questions about your own processes or particle size testing you can send us a message and we would be happy to work it out with you.
Want all the latest industry trends and innovations sent directly to your inbox? Subscribe to our monthly newsletters today!


