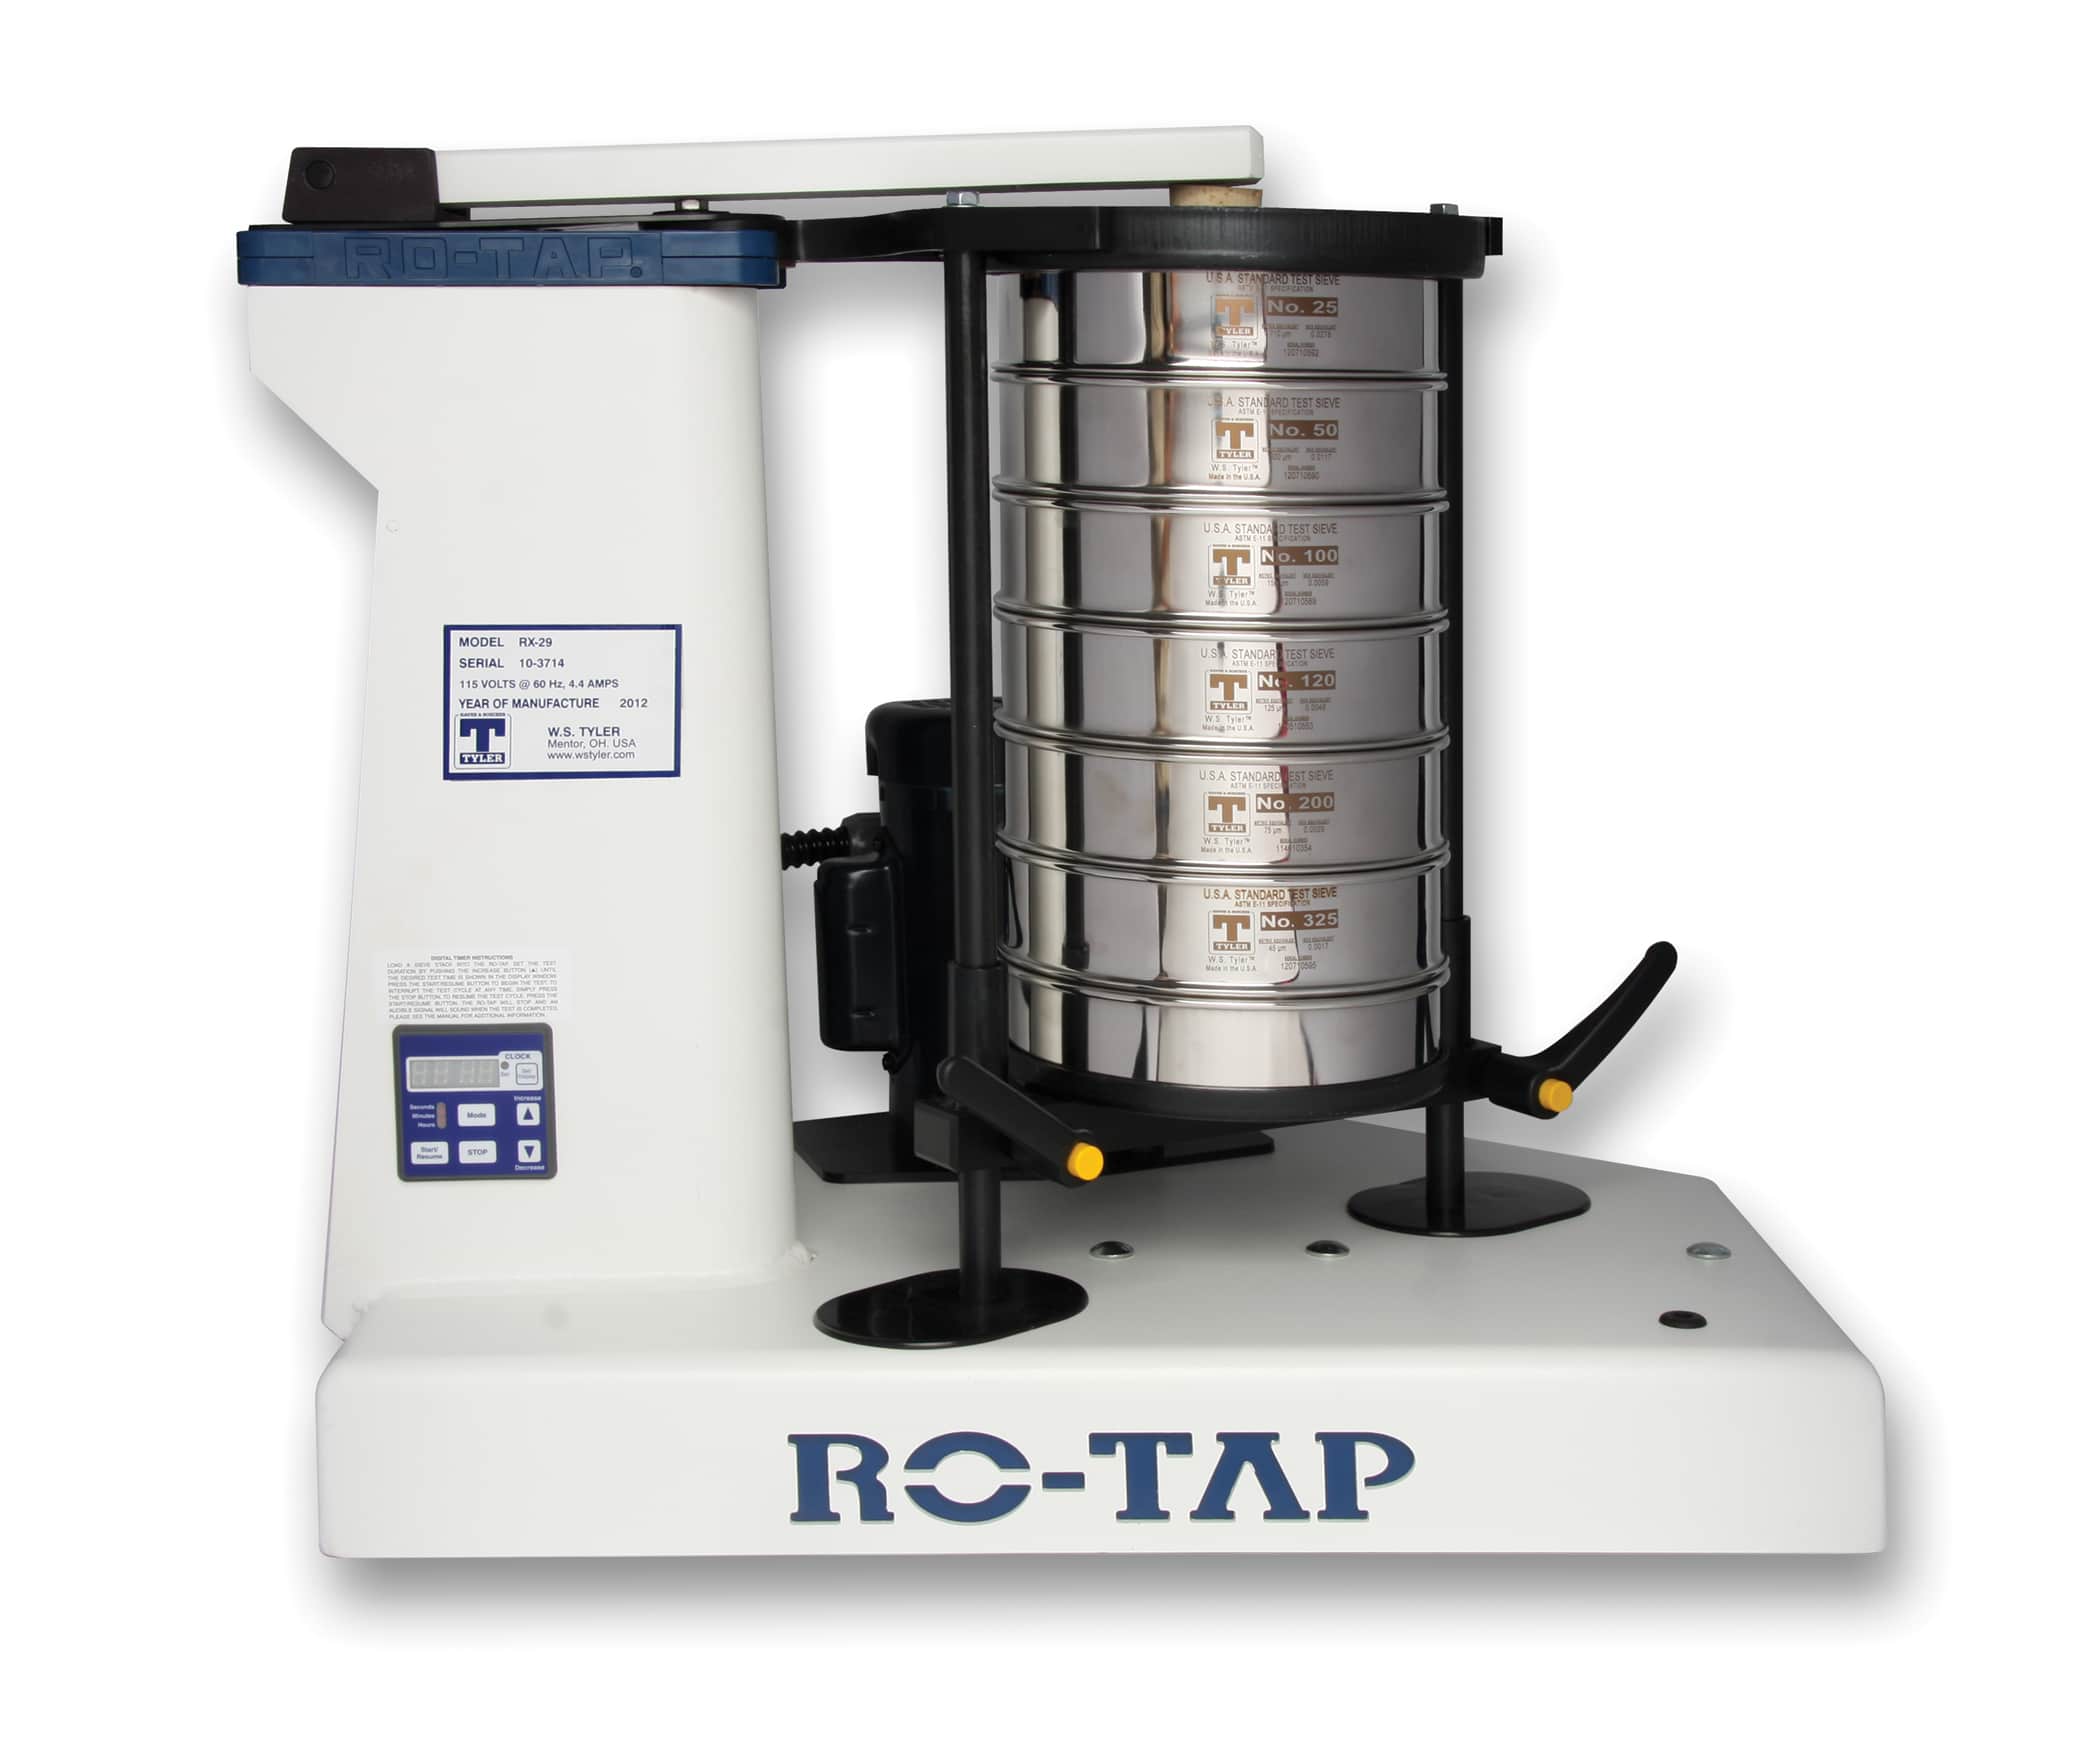
How To Adjust Your RO-TAP Mechanical Sieve Shaker
The W.S. Tyler RO-TAP Mechanical Sieve Shaker is regarded as one of the most reliable sieve shakers on the market and is reflected throughout dozens of industry standards. As there are various parts that work in unison to test material accurately, you must know how to adjust your device.
In fact, failure to periodically adjust the various parts of your RO-TAP can lead to various setbacks such as inaccurate results or noisy operation. This probably leaves you curious as to what parts you should adjust to promote optimal sieving performance.
As the creators of the original RO-TAP device, W.S. Tyler strives to use its 140 years of particle analysis experience to ensure your device delivers the best possible results for your specific operation.
To help, this article provides insight into:
- Why it's important to adjust your RO-TAP device
- How to adjust your RO-TAP device
- The importance of keeping your RO-TAP well lubricated
Why Is It Important To Adjust Your RO-TAP Sieve Shaker?
Sieve shakers, particularly the W.S. Tyler RO-TAP Sieve Shaker, are designed to deliver consistent test sieve analysis results. That said, most test sieve analysis processes are different because some require the use of more test sieves in a sieve stack than others or require lab technicians to use their equipment more frequently.
Regardless of what your process consists of, you will need to adjust your sieve shaker when it arrives at your facility as well as periodically throughout its lifespan.
Doing so will help ensure your test sieve analysis results are accurate and repeatable. This is particularly true for older and more frequently used machines, as the parts used to facilitate the RO-TAP's collaborative movements may shift and fall out of spec over time.
How Do I Adjust My RO-TAP?
As stated above, the RO-TAP relies on several moving parts to create the tapping motion that promotes particles throughout your sieve stack. Of these parts, you will need to adjust the hammer height, sieve height, and timing belt to keep your device running efficiently.
Sieve Height Adjustment
You will find that the number of sieves you use in a sieve varies on the material you are testing and the industry standards surrounding the material. The RO-TAP allows lab technicians to use sieve stacks that vary in size by featuring an easy-to-adjust sieve support plate.
Adjusting the height of your sieve stack will ensure the sieve cover fits snuggly, and the hammer tap works effectively. To that end, follow the steps below to adjust the sieve support plate:
- Remove the nuts located on the support bar
- Activate the two adjusting handles by pressing the yellow buttons
- Hand tighten the scored plastic end on the support bar threads
- Deactivate the yellow buttons on the handles
- Tighten the black handles
Hammer Height Adjustment
The height of your hammer plays an integral role in the success Of your test sieve analysis process. This is becasue the height of your hammer affects your RO-TAPS ability to tap the top of your sieve stack and help the individual particle find the openings in the mesh of your sieves.
To properly adjust the height of your RO-TAP's hammer, follow these instructions:
- Detach the pedestal cover
- Use a box wrench to turn the hex screw on top of the pedestal to raise the hammer to its maximum height
- Adjust the hammer height until it reaches1-5/16 +/- 1/16" by loosening the coupling screw on the side of the machine to adjust the lift rod
- Tighten the coupling screw
- Reattach the pedestal cover
Timing Belt Adjustment
The timing belt is the driving factor of the RO-TAP's distinctive hammer tapping motion. When properly tensioned, the belt will last longer, reduce wear on the bearings, and promote quieter device operation.
Use the following steps as a guide when adjusting your timing belt:
- Expose the bottom of your RO-TAP device by placing it on its side
- Loosen the four bolts that secure the motor, making sure not to remove them
- Slide the motor to adjust the timing belt's tension until an approximate 13 lbs per span corresponding tensioning force is achieved.
- Tighten the four motor bolts
Device Lubrication
To avoid untimely wear on the various RO-TAP parts, you should create and follow a schedule to keep your device well lubricated. That said, we recommend applying a light oil or WD-40™ every six months to prevent the parts from drying.
You can also apply these lubricants to combat any squeaking or dragging that may develop with use.
Update Worn Parts To Maintain Optimal Sieve Shaker Performance
The RO-TAP Sieve Shaker is a reliable test sieve analysis tool that helps lab technicians maintain a lab setting that complies with industry standards. By making minor adjustments every so often, your RO-TAP device will continue to produce accurate and repeatable results for years to come.
It is important to take into consideration the fact that some parts will eventually need to be replaced. As several moving parts work together to conduct a test sieve analysis, knowing when and how to replace the various components is essential to keeping your RO-TAP in tip-top shape.
As a leading sieve shaker supplier with over 140 years of particle analysis experience, W.S. Tyler strives to help customers get the most out of their particle analysis equipment.
For more information regarding the replacement of RO-TAP parts, read the following article:
About Ronnie Brown
Ronnie is the Content Writer for W.S. Tyler and has four years of experience as a professional writer. He strives to expand his knowledge on all things particle analysis and woven wire mesh to leverage his exceptional writing and graphic design skills, creating a one-of-a-kind experience for customers.


