


When you first learned to ride a bike, you didn’t just jump on and start speeding down the street. No, instead, you took the time to get the basics down to gain a sense of balance to keep you upright to get you from point a to point b.
The same goes for sonic sifter analysis. You must learn the fundamentals of the process to get from a representative sample to accurate and repeatable results.
So, how exactly do you conduct a successful sonic sifter analysis?
W.S. Tyler has spent the past 140 years learning the ins and outs of the various particle analysis methods used throughout the industry and aims to share our experiences to help you develop a process that will give you peace of mind about the quality of your products.
And for that reason, we created this article to help you gain a comprehensive understanding of what steps make up a reliable sonic sifter analysis. That said, we will be discussing:
- How to prepare your lab setting for a sonic sift analysis
- How to conduct the sonic sifter analysis process
- How to analyze your results
How To Prepare for a Sonic Sifter Analysis
The first step to an accurate and reputable sonic sifter analysis is to gather a reliable sample in accordance with your industry standards. This is possibly the most crucial step of any particle analysis method as the sample is a small portion of material that should represent the production line in its integrity.
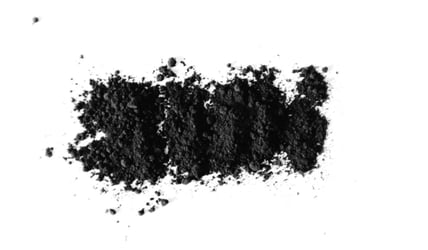
In other words, yielding accurate results starts with an accurate sample.
Using a reliable scale, you should weigh each test sieve and test sieve spacer. You should use a test sieve brush to ensure each sieve is free of residual material from previous testing.
The tare weight of the other comments, including the diaphragm, top cone, and fine collectors as well.
Assembling Your Sieve Stack
Once the weights are properly recorded, you can now assemble your sieve stack.
To do so, start by inserting the fine particles collector into the fine particles collector holder, using the hook at the bottom of the collector to secure it to the holder. You can then begin stack your sieves, with the finest sieve at the bottom and the corsets sieve at the top.
If you are using a horizontal pulse accessory, you should instruct the bottom-most sieve in the device before placing it on top of the fine particles collection hardware. Additionally, as the test sieves are transparent to allow for visual inspection of how the particles pass through the stack, it is best if the labels of sieves are orientated in a way that doesn’t obstruct viewing from the front of the stack.
The top cone should now be installed and sample material loaded. You can finish the assembly by placing the diaphragm on top of the top cone and securing everything using the column lock.
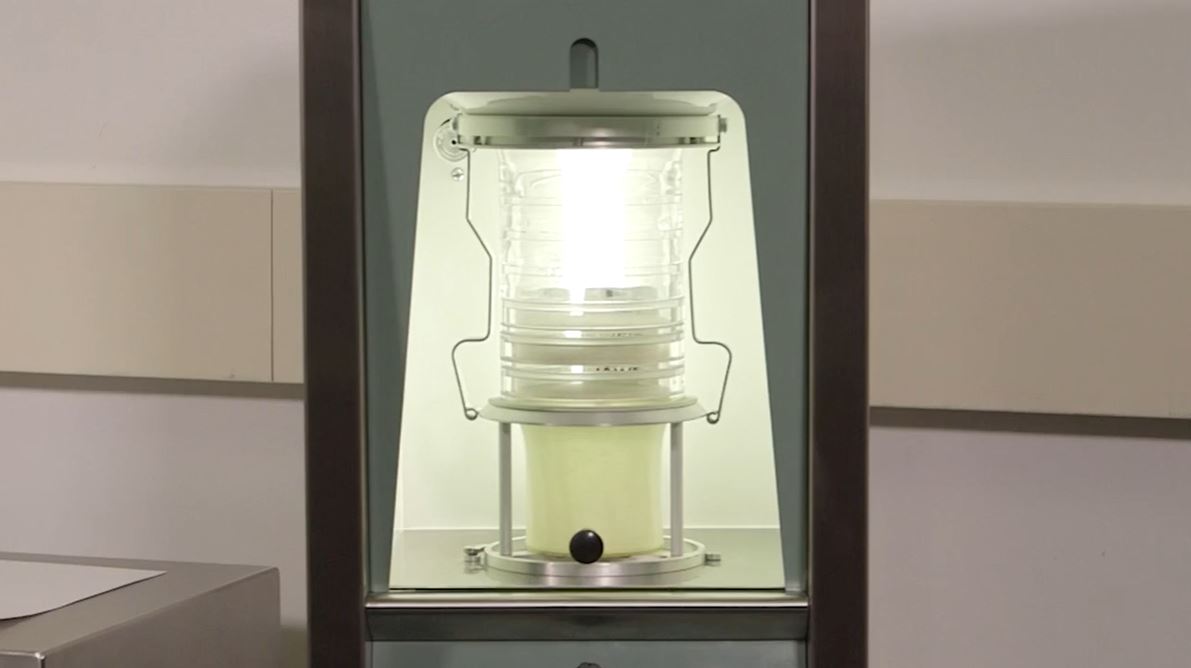
You can now load the sieve stack assembly into the test sieve chamber of the sonic sifter and begin testing.
How To Conduct a Sonic Sifter Analysis
Prior to interesting your sieve stack and initiating a test, make sure the amplitude dial is set to zero, and the timer is set to clock mode or not illuminated. Once this is done, and the sieve stack is inserted, manually disengage the securing arms on the column lock and lower the chamber door.
You can begin customizing your test by first setting the pulse setting by switching the pulse dial to either sift or sift/dialer based on your testing needs.
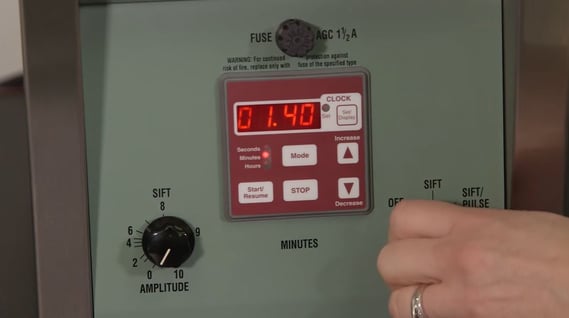
The next step is to set the test duration. The Sonic Sifter has three-time modes: seconds, minutes, and hours. Press and hold the mode button until the desired time mode is selected.
Using the increase and decrease button, you should now set the value of the testing duration. You will then press the start button to initiate the test.
The amplitude should be adjusted until the largest particles on the sieve are rolling on the mesh surface. Keep in mind that if the particles are displaced past half the height of the sieve, the amplitude is too high and should be lowered.
Once the device has completed its testing cycle, operations will stop, and the timer will trigger a beeping tone. At this point, the stack should be removed and disassembled with care, and the various components should be weighed.
Record your findings and use them to make your final calculations to complete the sonic sifter testing session.
Sample Analysis
In most cases, sample material is tested based on the amount of particles that remain on each sieve after testing. When done correctly, each sieve should add up to the original weight of the entire sample.
You can also test to record the amount of material that passed through each sieve as a percentage.
W.S. Tyler provides a particle weight distribution software the helps lab operators record the retained weight of each sieve and generate an accurate distribution curve.

Start Your Sonic Sifter Analysis Journey Today!
Sonic Sifter analysis is a particle analysis process that mimics the performance of a wet sieve analysis and is ideal for working with fine particles, especially particles ranging from 3 microns to 45 microns. Looking at it simply, the testing process involves lab operators gathering a representative sample, assembling the test sieve stack, and adjusting the sonic sifter separator to accommodate the material being worked with.
At this point, you should have a general idea of whether sonic sifter analysis is suitable for you or not. But at the same time, you may still have questions or uncertainties when it comes to investing in a sonic sifter separator.
Regardless of where you stand, from here, the next steps are to reach out to our team of in-house experts to seek those last details and move toward making sonic sifter analysis a reality for your lab.
Here at W.S. Tyler, we understand that new can be scary. Introducing new material, new equipment, and new particle analysis methods can all seem draining at first glance.
It’s our mission to make achieving the quality you seek a breeze so you can spend more time on other aspects of your production process.
To get in touch with our team of experts and embark on your sonic sifter analysis journey, you can contact us through one of the following avenues:
- Go to our Contact Us page and fill out the form
- Email your configuration and contact information to our sales team at info@wstyler.com
- Reach out to us via phone at 800-321-6188.
- Provide our interactive chatbot (lower right-hand corner of this page) with your credentials and specific configuration needs